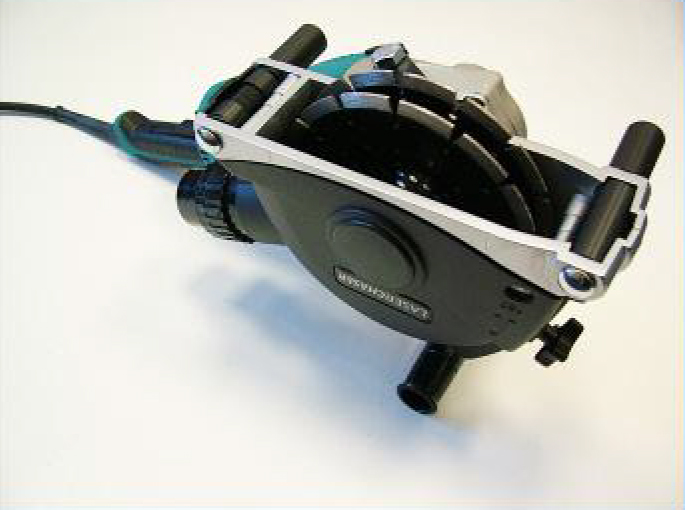
| The Laserchaser 180 is designed for both left- and right-handed use by adjusting the top handle position on the handle arm unit. For safe and effective operation, follow the instructions below. |
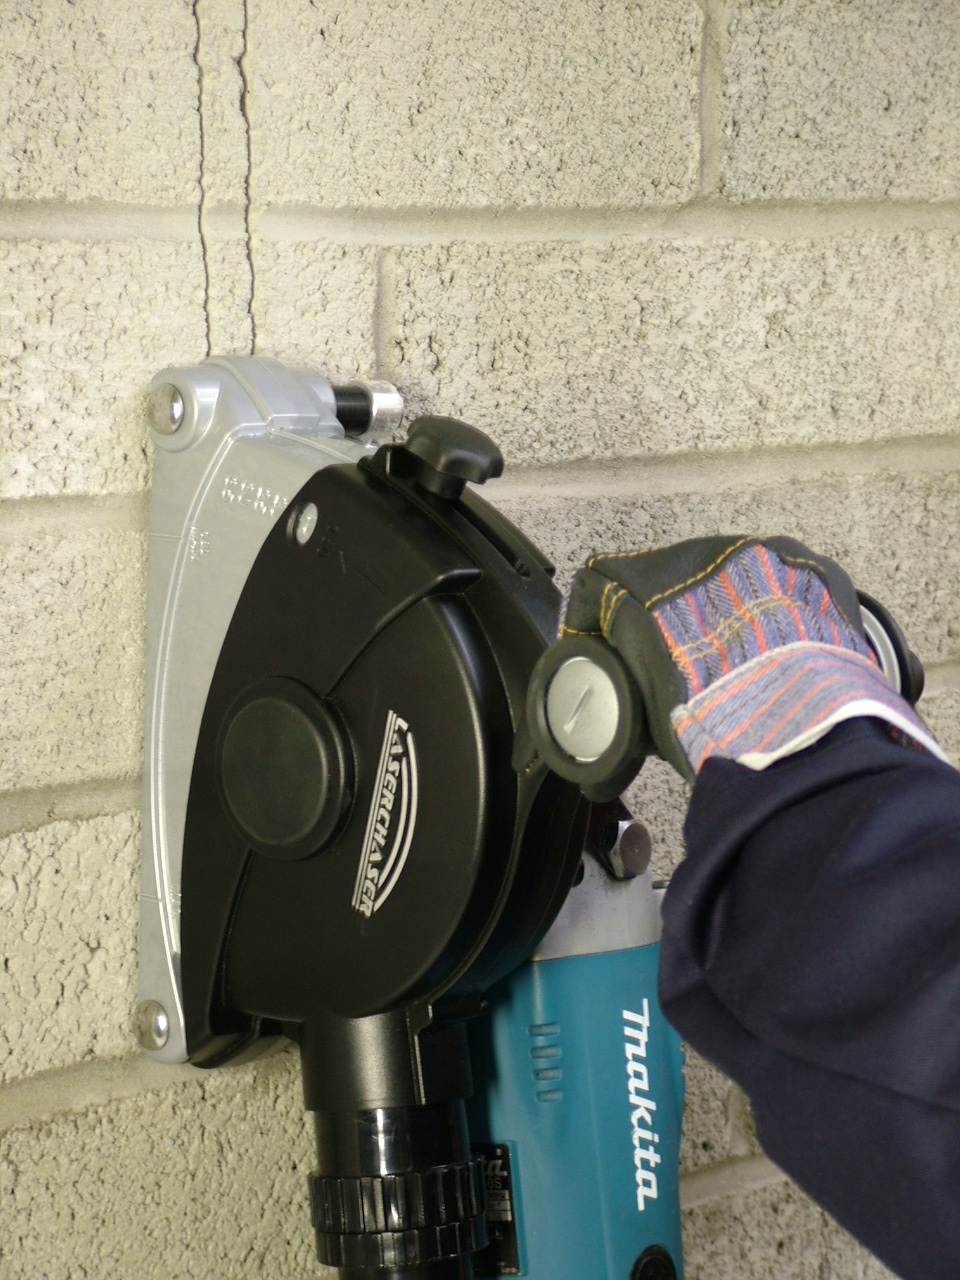
| • Always grip the machine securely with both hands. |
| • Wear appropriate PPE in accordance with Health & Safety regulations. |
| • Do not start the machine until you are properly positioned and holding it with both hands. |
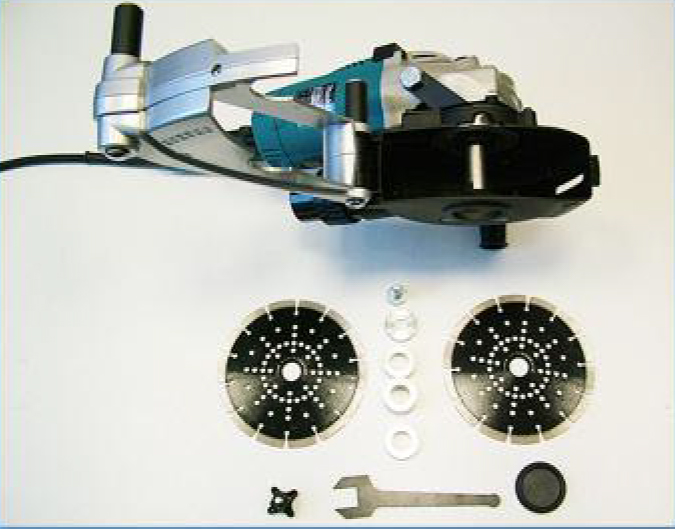
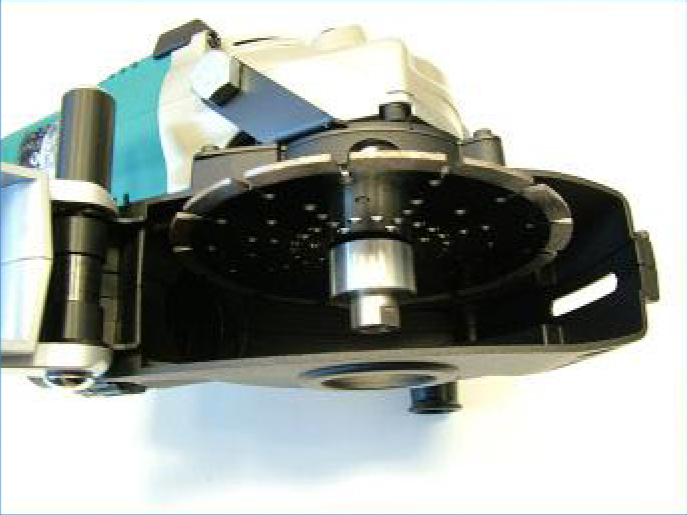
| • The diamond blades (180 mm) are exposed by a minimum of 10 mm — use with caution. |
| Direction of Use: Operate from ceiling to floor. |
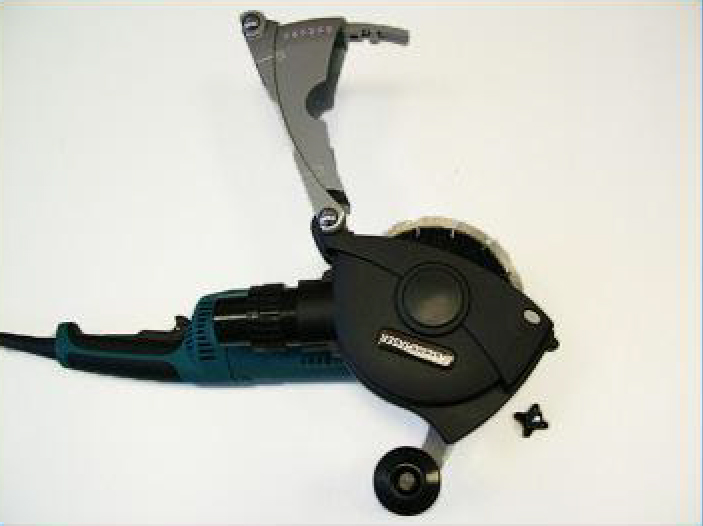
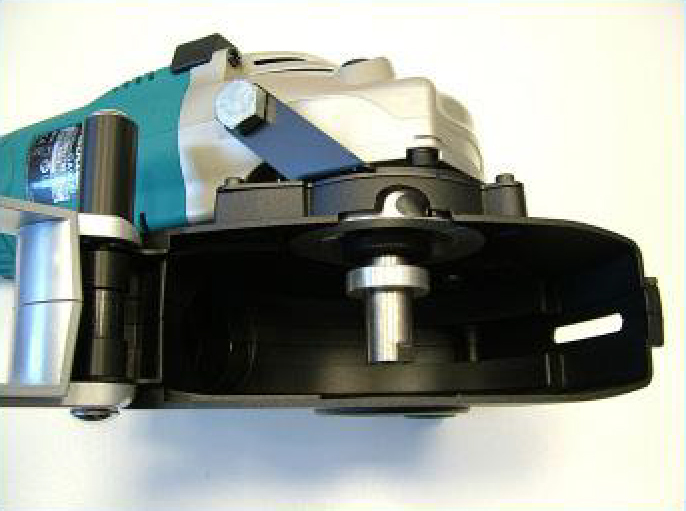
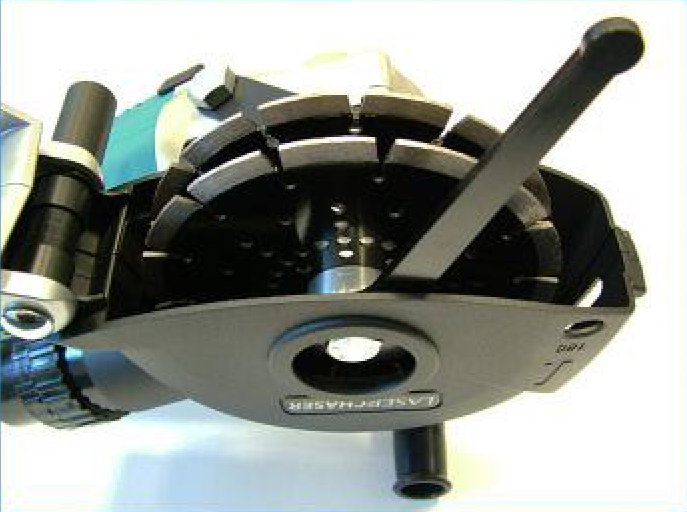
Pre-Start Positioning:
• Place the housing at the top of the cut.
• Rest the bottom axle against the wall.
• Gently hinge the blades away from the wall.
|
Starting the Cut:
• Switch on the motor after positioning.
• Slowly move the blades into the wall to minimize dust escape.
|
Cutting Technique:
• Cut at a steady, even speed appropriate for the material.
• Do not force the machine — this may overload the blades, motor, and gear assembly.
|
After the Cut:
• Keep both hands on the machine until the blades stop rotating.
• Only then, set the machine down on a stable, level surface.
|
| If a blockage occurs in the diamond blades or vacuum intake: |
| • Set the machine down on a level surface. |
| • Disconnect from the power supply before performing maintenance. |
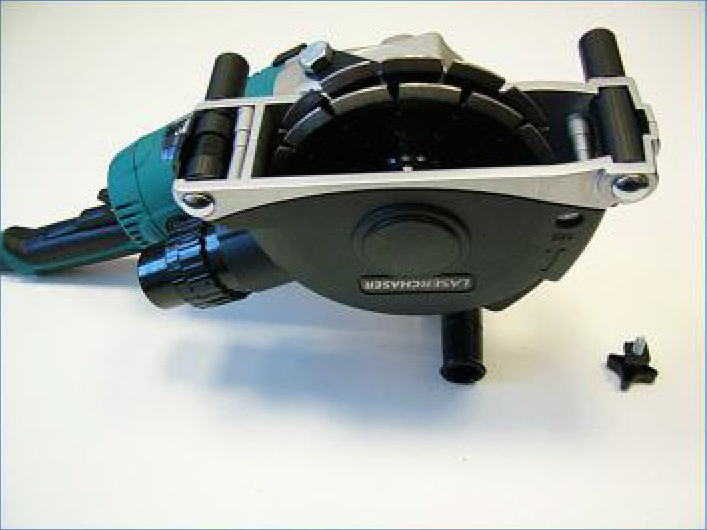
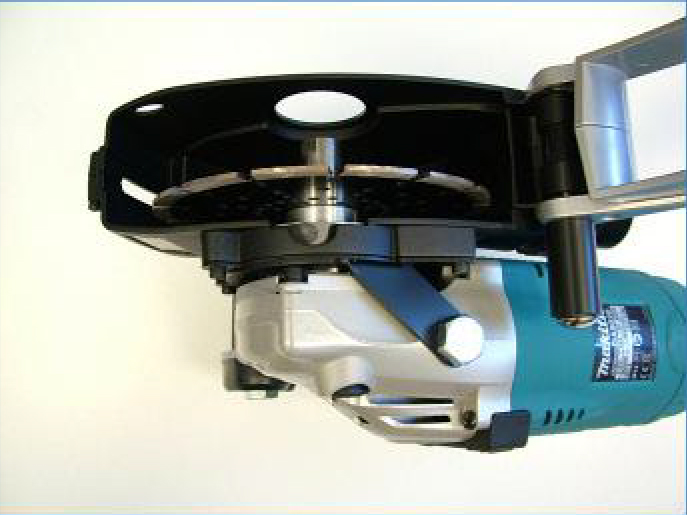
For vacuum intake blockages:
• Unscrew the vacuum hose from its connector.
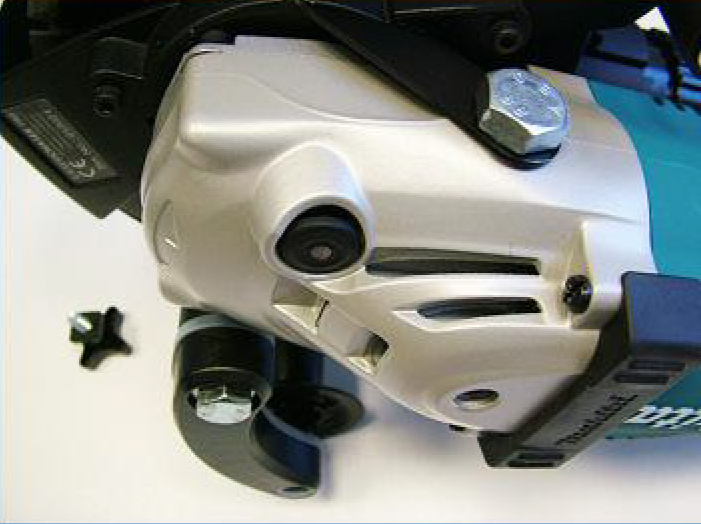
• Remove the retaining screw securing the connector inside the housing.
• Extract the vacuum hose connector and clear any debris carefully.
|